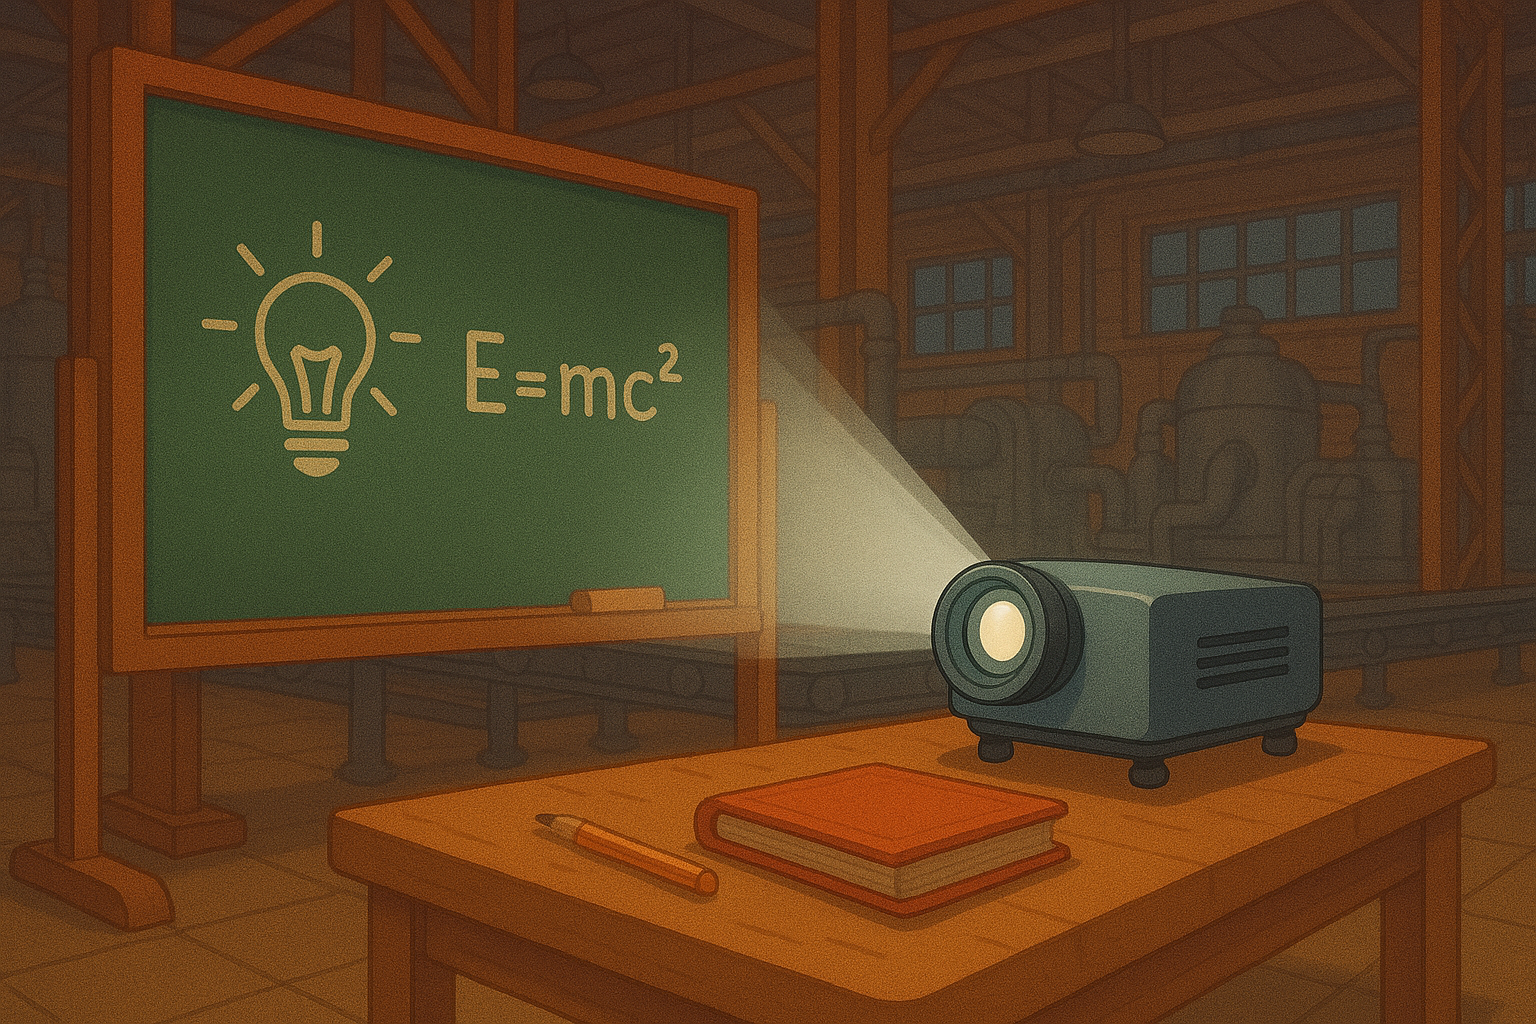
Window projection setup: Dein Fenster als Leinwand — Schritt-für-Schritt zur perfekten Weihnachtsprojektion
Window projection setup is one of those ideas that sounds fancy but is very doable. You can make your living room window glow and share festive scenes with people on the street. You do not need pro gear to start. You do need a plan. Think about the size of your window. Think about how bright the street lights are. Think about the view from outside. Window projection setup often fails because people skip small checks. Start by choosing the right night and the right spot in your window. Try a test run a week before your big night. Check reflections from inside lamps and from shiny floors. Check how curtains or blinds will alter the image. Check if the building rules allow a display on your window front. Keep your device away from children and pets. Window projection setup benefits from simple content. Use high-contrast images. Loop short clips rather than long videos. Keep audio optional. Many viewers will watch from outside, so visuals must be strong. Window projection setup can feel technical at first, but a few tests will teach you what your window needs. Gather a friend for feedback during your trial. Use a phone to record how it looks from the sidewalk. That quick check tells you if your brightness, angle, and film choice are working well.
Choosing gear that fits your window
Window projection setup starts with the right projector and the right film. Pick a projector with enough lumens for Singapore evenings. Aim for at least 2000 lumens for clear street-level visibility. Choose a short-throw or ultra-short-throw model if you have limited depth behind the window. These projectors let you sit close to the glass and still get a big picture. Consider a compact LED model if you want low heat and low fan noise. Think about resolution too. Full HD is a good balance between price and crispness. Window projection setup also needs the right projection film. Use a frosted adhesive film for daytime diffusion and a brighter image at night. Transparent rear-projection films work well if you want a cleaner look from outside. Removable adhesive films are kinder to rented homes. Pick a film with a matte finish to reduce glare. Window projection setup is easier if your projector has wireless HDMI or an easy media player. That cuts cable runs and reduces trip hazards. Battery-powered projectors can help, but check runtime and brightness. Also plan for a surge protector and a weather-safe power point if your setup sits near an open window. Always test power draw and warming up behavior before your first public show.
Mounting, distances and angles
Window projection setup depends on correct placement. Measure the throw distance. Check your projector's throw ratio and use the formula distance = image width x throw ratio. Keep the projector level with the center of the window to avoid heavy keystone corrections. Use small shims or an adjustable mount for fine tweaks. If you must project at an angle, enable lens shift if available rather than keystone. This keeps the image sharp. Keep the projector off the floor if condensation can form. Elevate it on a table with a non-slip pad. Aim to minimize reflections from inside glass. Turn off indoor lights that point toward the window. Use blackout curtains behind the projector to improve contrast. Window projection setup often needs multiple short tests. Project a grid image and mark the corners on the film. Adjust the projector until the grid lines are straight and the focus is uniform. Window projection setup benefits from a stable mount. Avoid taping projectors to shelves or using unsteady stacks. Secure cables with clips and cable ties. Test the projector for at least 30 minutes to watch for overheating and fan noise. If heat builds up, add ventilation or increase distance until the unit runs cool.
Setting up content and visibility
Window projection setup works best with tuned content. Use bright, simple scenes with high contrast. Avoid tiny text or thin lines. Choose colors that pop against the film. White and saturated colors read well on frosted surfaces. Test the content at the same hour you plan to show it. Street lights and passing headlights change visibility. Run your loop for a few minutes and walk the viewing path to see how it reads from different angles. Use short animations, festive loops, or slides with pauses. Add motion where you want attention and keep quiet scenes longer so people can take in details. Window projection setup also needs attention to timing. Start after dusk when contrast is strongest. Consider an automatic timer or smart plug to switch the projector on and off. Add a small caption or QR code if you want to share playlists or greetings. Keep the code simple and large so phones can scan it from the sidewalk. Window projection setup becomes social when you invite neighbors to watch. Respect privacy by avoiding bright beams into other flats or cars. Keep the show family-friendly and low-volume if you add speakers. Test several file formats and players to avoid stuttering mid-show.
Safety, rules and final checklist
Window projection setup must be safe and considerate. Secure all cables with clips and tape. Use a weather-rated power point or keep electronics inside if rain is expected. Avoid running cables through open windows where they can pinch or catch. Use a thermal cutoff or allow cool air flow around the projector. Place the projector away from flammable curtains and decorations. Check the building rules for HDB or condo guidelines in Singapore. Some blocks limit external displays or decorations. Ask a neighbour if you are unsure. Window projection setup should not block emergency exits or fire escapes. Use proper isolation transformers or surge protectors to protect gear from spikes. Label switches so guests do not accidentally unplug critical devices. Make a simple checklist: film applied, projector leveled, content tested, timer set, cables secured, neighbours informed. Do one full run-through at least once before your debut night. Keep a small tool kit handy for quick tweaks. Window projection setup can be a low-barrier, high-impact way to spread cheer. With a few tests and respect for safety and neighbours you can create a memorable display that looks great from the street and stays hassle-free for you.
Popular projections