Projection options for mood-rich projections in Singapore: choose the right setup
Projection options give you the tools to reshape a room fast. They help you set mood, focus attention and add motion without heavy installations. You can go bold or keep things subtle. You can do a full-night show or a quiet background glow. You do not need to be a tech pro. I will guide you step by step, so you can pick what fits your place in Singapore and your vibe.
Why choosing the right projection option matters
Projection options make a big difference in how your visuals look and how people feel. A bright beam on a smooth wall reads as cinematic. A soft glow through a window looks intimate at night. A floating net can make images feel like they hover in mid-air. A TV feed keeps playback simple and sharp. When you match the method to the location, the image quality improves and the mood lands better.
Projection options also affect setup time and cost. A projector requires space and a surface. A back-projected window needs film and a light source. Floating nets ask for rigging and care with air flow. A TV view just needs a file or stream and a player. I recommend you think about how often you will run it. If you want daily scenes, pick a low-effort path. If it is a one-night wow, lean into dramatic setups.
Projection options change how people interact with the display. Wall projection invites people to step closer. Window projection keeps things visible from two sides. Floating nets invite a pause and a touch of wonder. TV playback feels familiar and controlled. Match the method with your goal. If you want people to linger, choose immersive modes. If you want clear messaging, pick TV or a crisp wall setup.
Wall projections: immersive and bold
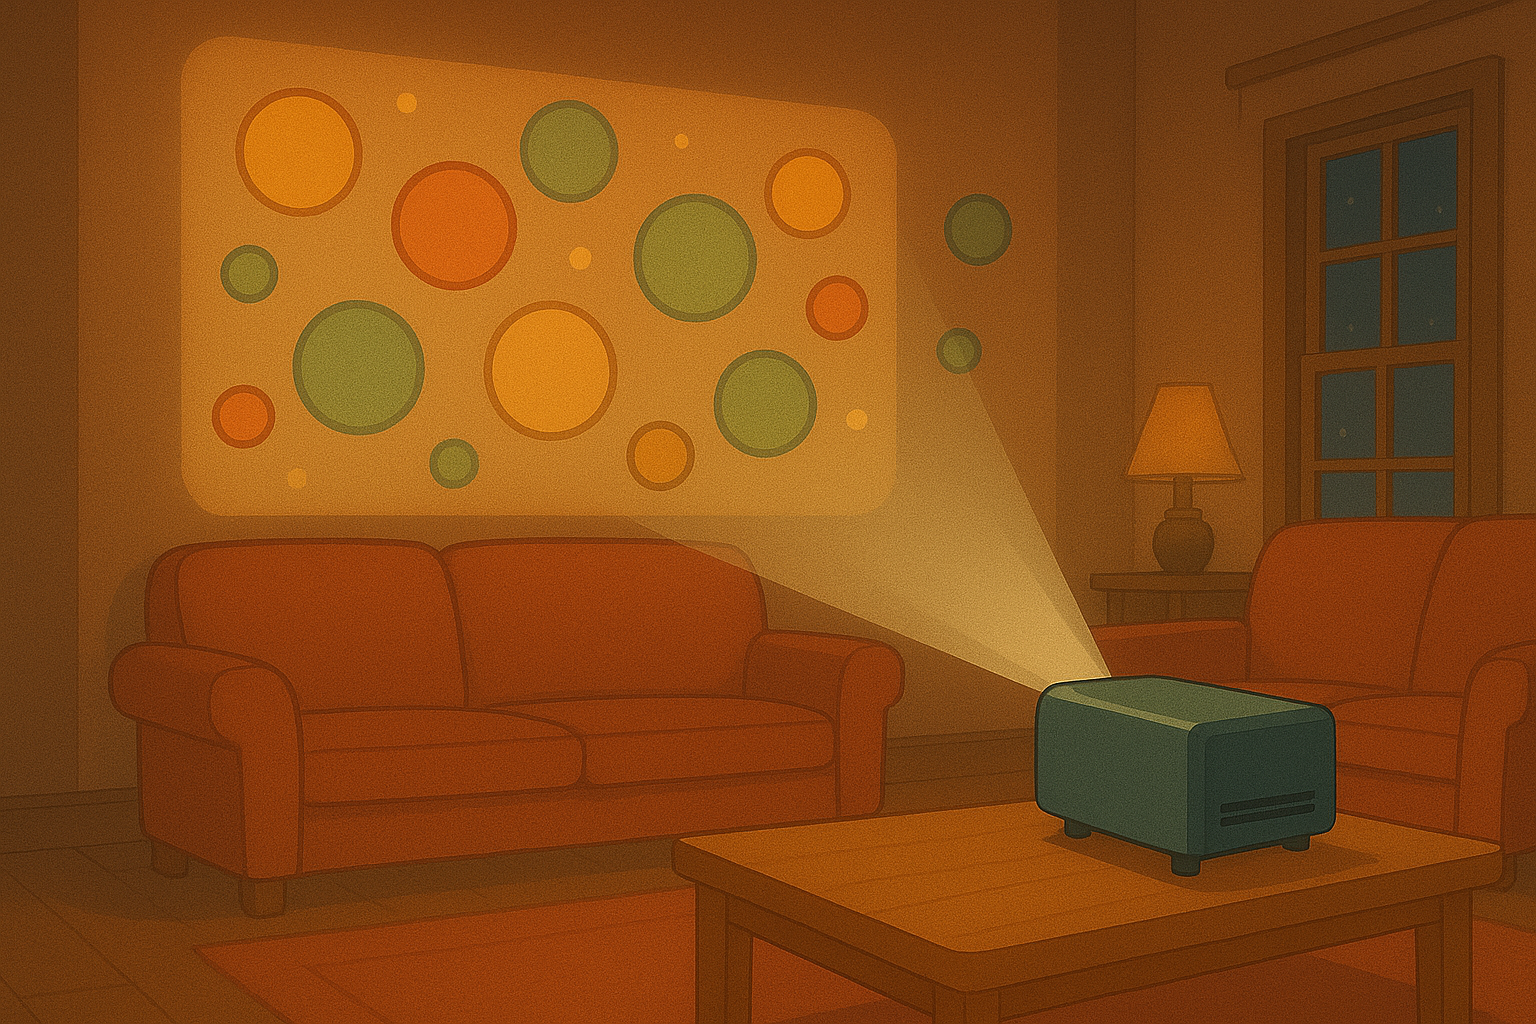
Projection options that use walls are the go-to for a big impact. A good projector on a bright, smooth wall creates scale. You can cover a whole facade or just a corner. Choose a projector with the right lumen output for the room light. Darker rooms need fewer lumens. Brighter spaces need more power. Also mind the throw distance. Some projectors are short-throw and fit tight rooms.
Projection options for walls offer creative freedom. You can map graphics to furniture shapes. You can change scenes by the hour. You can loop gentle animations that set a mood. For public spots, keep file sizes small for smooth playback. For home, add sound for extra immersion. Test the image at night and daytime. That reveals glare and color shifts.
Projection options on walls require care with surface texture. Rough walls break detail. Smooth paints show fine lines. If the wall color is not neutral, use a neutral canvas or paint a strip. Position the projector to avoid shadows from people walking. Secure mounts help avoid drift. With the right prep, wall projection feels polished and cinematic.
Window projections: cozy from inside, bold from outside
Projection options that target windows are perfect for evening displays. Use rear-projection film to make the image visible from the outside while keeping things cozy inside. The film is thin and sticks to the glass. It turns your window into a screen without blocking light during the day. At night the visuals read clearly to passersby.
Projection options for windows work well for seasonal displays and storefronts. You can run short loops and switch themes fast. Make sure the projector sits inside and faces the film. Avoid direct sunlight on the film during the day. Use darker room lighting to boost contrast. If you want privacy, layer the film with a light curtain that still shows the glow.
Projection options here also allow easy removal and re-use. You can swap films for different events. You can add subtle motion that draws attention without blinding the street. For a friendly look, choose softer animations and a warm color palette. For sales or announcements, pick high-contrast and clear typography. Keep file lengths short to avoid stutter on lower-power players.
Floating nets: the magic of suspended imagery
Projection options that use floating nets create a hint of magic. Thin gauze or mesh hangs in a room and becomes almost invisible until an image crosses it. The result is a ghostly, floating visual that feels ethereal. This technique works great for art installations and intimate shows. It transforms a space without heavy screens.
Projection options with nets are light on the walls. They add depth and layers to a stage or living room. To succeed, tension the net well to avoid ripples. Keep it clean and free from strong air currents. Position the projector so the image hits the net at a good angle. Consider using two nets for layered effects and gentle parallax when viewers move.
Projection options here let you play with opacity and texture. You can combine soft motion with subtle lighting to make images float. The approach is forgiving with low-res content. Even simple shapes take on a dreamlike feel. Float nets are also reversible: pack them away for events and reuse them in new setups. This makes them a flexible choice for creatives and venues in Singapore.
TV playback: the simple, sharp choice
Projection options that use a TV are about speed and clarity. Plug in an HDMI stick, load an app or use a media player. You get crisp playback and consistent colors. This route is ideal when you want reliability. A TV works well in living spaces and small venues. It also pairs well with synced sound for tight presentations.
Projection options on TV require minimal setup. No dark rooms, no mounts, no films. Just pick the right resolution and match the player settings. Use short loops or playlists to keep things fresh. If you need larger scale later, you can mirror the same content to a projector. This gives you a consistent look across devices.
Projection options for TV are great for shops and pop-ups. You can run promotional clips easily. You can swap themes in minutes. For a cozy home mood, dim the room lights and let a TV loop softly. For storefronts, place the TV near the window for added visibility. This option keeps things simple and dependable.
Quick checklist and final tips
Projection options should match your space, budget and time. Start by asking three questions. Do you want scale or subtlety? Will you run content daily or just for events? How much effort can you spend on setup? Your answers point to wall, window, net or TV solutions. Keep files optimized and test ahead of time.
Projection options scale with your ambition. Begin small and build. Rent a projector for a one-off event. Try a net for a soft art effect. Tape a sample of rear-projection film on a window to check sightlines. Measure throw distance and check power outlets. Add simple mounts and cable covers for a neat look.
Projection options work best when you think like your audience. Make the scene readable from the right distance. Keep motion gentle for long loops. Choose colors that suit the mood. And most of all, have fun experimenting. With a few tests you can turn a normal room into something that feels alive and personal.
Popular projections